Padded Headband DIY: Create Trendy, Cushioned Headbands at Home
Transform simple materials into chic, plush padded headbands with this step-by-step, beginner-friendly DIY guide.
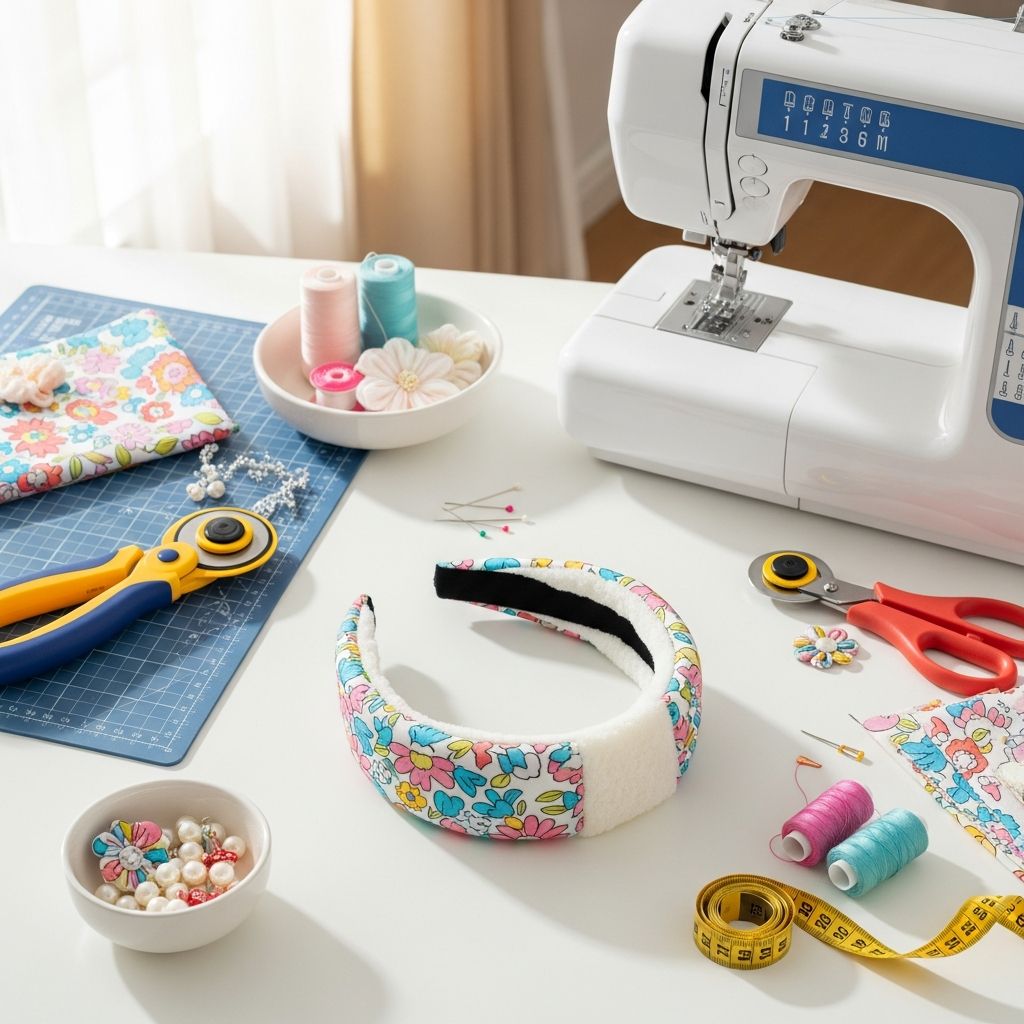
Padded Headband DIY: Your Guide to On-Trend, Cushioned Headwear
Padded headbands have taken the style scene by storm, blending comfort with a bold, chic statement. Their versatility means you can pair them with everything from jeans and a tee to elegant dressy outfits. Contrary to what you might think, making your own padded headband is a simple DIY project accessible to crafters of all levels. This guide covers supplies, step-by-step instructions, tips for customizing, and answers to frequently asked questions—all optimized for beginners and creative enthusiasts alike.
Why Try a Padded Headband?
Padded headbands combine style and comfort, making them an ideal accessory for everyday wear or special occasions. Recent trends have seen them on runways and social media, giving outfits a polished, playful touch. Their plush form is also gentle on hair, making them a practical solution for taming flyaways or adding instant glam to any look.
Supplies You’ll Need
- Fabric: 1/4 yard with at least a bit of stretch (velvet and velour work well)
- Upholstery foam: 1/2″ thick, available at most craft stores
- Plastic headband base: 1.5″ wide for adequate surface area
- Scrap paper: For making a foam template
- Fabric scissors: For precise cutting
- Straight pins
- Sewing machine or hand needle
- Hot glue gun with glue sticks
Most materials are inexpensive and easily found at craft, fabric, or dollar stores. Choose a fabric that matches your outfit or brings color and texture for added glamour.
Step-by-Step Padded Headband Tutorial
1. Make a Template
Start by using scrap paper to trace the general arc and size of your headband base. This creates a reusable template for shaping your foam. Cut along your traced line to produce a matching paper curve.
2. Cut Upholstery Foam
Place the paper template on your foam and trace its outline. Using fabric scissors, carefully cut the foam to match your template. To avoid bulkiness behind your ears, taper the last 3 inches on both sides of the foam so they thin out gradually. Don’t worry if the cut isn’t perfectly smooth—the fabric will conceal minor imperfections.
3. Build Extra Volume (Optional)
If you want extra height and drama, trace another template for just the middle 6″ section of your headband. Repeat the cutting and tapering process. Layer this smaller foam piece on top of the larger one in the headband’s center for additional cushion and height.
4. Secure Foam to Headband
Turn on your hot glue gun and allow it to heat. Starting with the smaller (if used) and then the larger foam piece, apply hot glue with the cut sides facing down. Secure each foam layer to the top of your plastic headband base, pressing firmly and working quickly before the glue dries. Be sure to align the tapered ends with the sides of the headband to maintain a smooth silhouette.
5. Cut Fabric
Measure enough fabric to cover the padded foam plus a bit of overlap on the underside of the headband. For most headbands, 1/4 yard suffices. Stretchy fabrics make the wrapping process easier and help achieve a snug, smooth finish.
6. Sew or Glue the Fabric Sleeve
- Lay your fabric right-side up on your workspace.
- Wrap the fabric over the padded foam, pinning the edges together underneath.
- Using a sewing machine, sew the long edges of the fabric together to form a tube or sleeve. Alternatively, hand stitch with a needle and thread or use fabric glue if sewing isn’t an option.
Leave one end open to slide the padded headband into the fabric cover later.
7. Insert the Padded Headband
Turn the sleeve right-side out. Carefully slide the foam-padded headband into the tube, ensuring no wrinkles or bunching. Adjust the fabric until it’s snugly wrapped around the foam and headband base.
8. Finish the Ends
- Fold excess fabric neatly under each end of the headband.
- Use hot glue or invisible hand stitching to close the fabric ends as close to the headband base as possible.
- Take care to make the ends tidy—this gives a clean, professional finish.
9. Final Touches
Trim any stray threads and smooth out the fabric. Inspect for glue residue or uneven edges, fixing as necessary. Once dry, your padded headband is ready to wear!
Tips for Customizing Your Padded Headband
- Fabric Choices: Velvet, velour, stretch satin, and jersey knit all offer plushness and easy application.
- Colors and Patterns: Select bold hues for a statement piece, pastels for everyday wear, or print fabrics for unique styles.
- Extra Embellishments: Add pearls, beads, brooches, or rhinestone appliqués with hot glue for a high-fashion look.
- Different Heights: Vary foam thickness or double-layer for dramatic, elevated headbands.
- Headband Base Width: Opt for a wider plastic headband if you want a chunkier silhouette, and adjust your fabric and foam accordingly.
Common Mistakes and How to Avoid Them
| Mistake | How to Prevent |
|---|---|
| Choosing non-stretch fabric | Always pick fabrics with slight stretch for easier wrapping and a cleaner finish. |
| Uneven foam edges | Taper ends gradually and use sharp scissors for smooth cuts; bumps won’t show under fabric. |
| Loose or wrinkled fabric | Measure fabric properly and keep it taut during assembly. |
| Bulky ends | Trim foam and excess fabric carefully; secure with glue and tidy folding for a polished look. |
Style Inspiration: How to Wear Your Padded Headband
- Casual Looks: Pair with jeans, a T-shirt, and sneakers for effortless style.
- Dressy Outfits: Match metallic or velvet headbands with dresses and heels for party-ready flair.
- Layered Hairstyles: Use with updos, ponytails, or loose waves to add drama and polish.
- Complementary Accessories: Combine with statement earrings or bold lipstick for a complete fashion-forward ensemble.
Beginner FAQs
Q: What’s the best fabric for padded headbands?
A: Stretchy fabrics like velvet, velour, or jersey knit work best for smooth coverage and comfort. They also make it easy to slide over the foam and headband base.
Q: Can I make a padded headband without sewing?
A: Yes! You can use strong fabric glue to seal your fabric edges if you prefer a no-sew method. Just allow ample drying time for strong adhesion.
Q: How do I clean my DIY padded headband?
A: Spot clean gently with a damp cloth. Avoid submerging in water, as glue and foam can weaken if soaked.
Q: Is upholstery foam necessary, or can I substitute?
A: Upholstery foam provides the best volume and comfort, but soft craft foam can work in a pinch. Adjust thickness to your preference.
Q: Can I resize the headband for kids or adults?
A: Absolutely. Use plastic headband bases in child or adult sizes and cut foam/fabric accordingly.
Related DIY Hair Accessories
- Braided Velvet Headband: Use three strips of velvet braided together, then wrapped and glued onto a headband base for a textured effect.
- Statement Hair Clips: Add rhinestones, pearls, or appliqués to standard clips for an easy glam touch.
- Spa Headbands: Create wide, soft bands with terry or fleece for comfortable, functional hair management.
Final Thoughts
Making a padded headband blends practical skills with creative expression. Whether you want a subtle everyday accessory or a dramatic statement piece, this DIY ensures you end up with a custom item tailored perfectly to your style and comfort. The steps are suited for beginners but can be adapted for more complex variations, making the project as simple—or ornate—as you choose.
Frequently Asked Questions (FAQs)
Q: How long does it take to make a padded headband?
A: Most beginners can complete a padded headband in under an hour, depending on sewing/gluing methods and embellishments.
Q: Where can I find foam and headband bases?
A: Craft stores, fabric shops, and online retailers all carry upholstery foam and plain plastic headband bases.
Q: Can padded headbands be worn for long periods?
A: Yes, padded headbands are gentle and lightweight, making them ideal for extended use without causing headaches or discomfort.
Q: Are padded headbands suitable for thick or curly hair?
A: Padded headbands suit all hair types and provide secure hold for thick or curly hair, preventing slipping and minimizing breakage.
Q: Can I machine wash my padded headband?
A: Hand or spot cleaning is recommended to preserve the foam and fabric adhesion.
Pinned Ideas for Your Next Craft Project
- Try metallic or jewel-toned fabrics for evening and party looks.
- Experiment with foam thickness to refine the volume and style.
- Make matching sets for family, gifting, or seasonal events.
With simple tools and materials, anyone can make a stylish padded headband to elevate their hair game. Let your creativity lead, and enjoy your personalized accessory!


