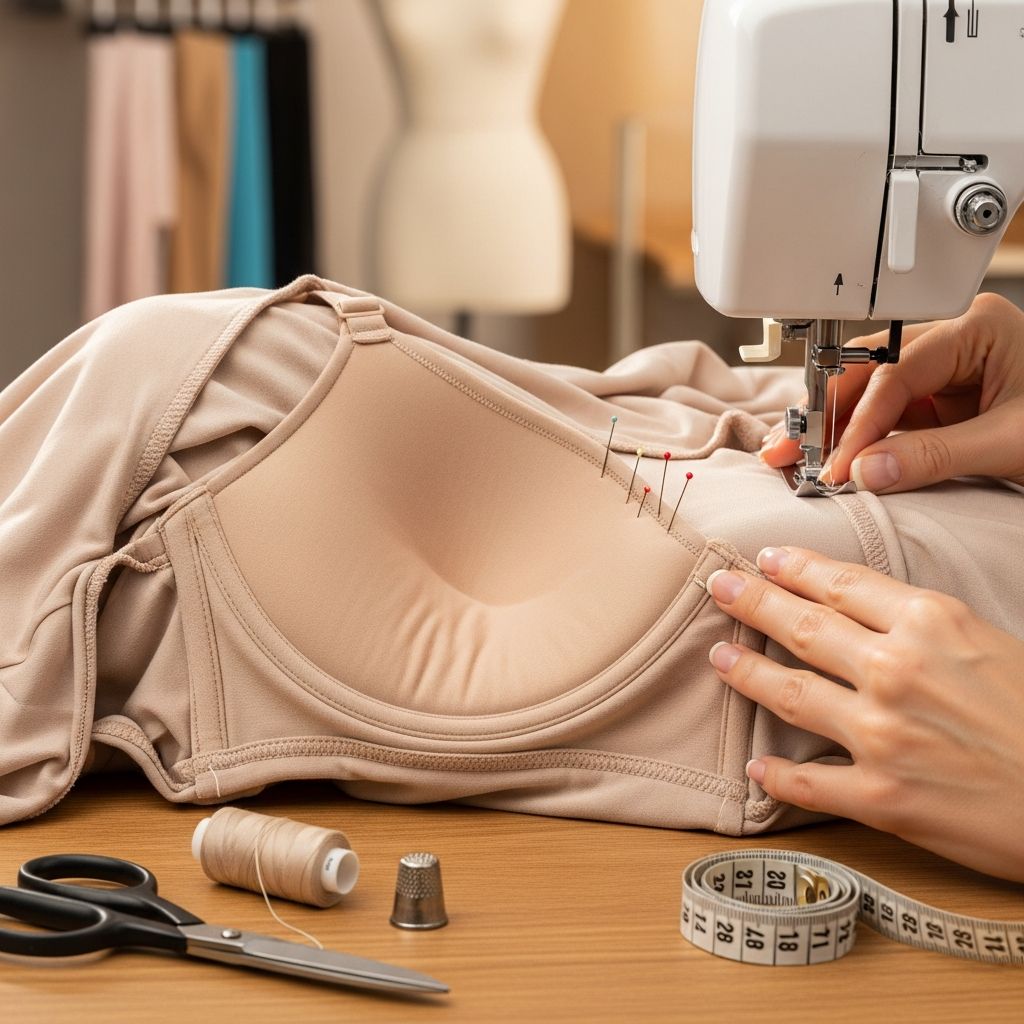
How to Add a Built-In Bra to Clothing
Transform your favorite garments with custom built-in bra support for comfort and style.

Adding a built-in bra to your clothing is a fantastic way to enhance comfort, support, and versatility. Whether you’re modifying a dress, top, or tank, this DIY sewing hack allows you to wear your favorite garments without worrying about visible straps or uncomfortable undergarments. In this comprehensive guide, we’ll walk you through two effective methods for adding a built-in bra, share essential tips, and answer common questions to help you get started.
Why Add a Built-In Bra?
There are several reasons why you might want to add a built-in bra to your clothing:
- Improved Comfort: Eliminate the need for separate bras, especially for strapless or backless designs.
- Enhanced Support: Custom-fit support ensures your garment stays in place and feels secure.
- Style Versatility: Wear your favorite tops and dresses without worrying about visible straps or mismatched undergarments.
- Cost Savings: Avoid purchasing specialty bras for specific garments.
The More Support Method
This method is ideal for garments that require substantial support, such as dresses, tops, or swimwear. It involves using an existing bra or bra cups and integrating them directly into the garment.
Step 1: Prepare Your Bra or Cups
- Decide whether to use a full bra or just the cups. You can cut off the straps and closure, leaving only the cups, or keep the sides and middle for added structure.
- Trim the cups if necessary to fit the garment’s shape and size.
Step 2: Position the Cups
- Try on the garment and pin the cups in place at the desired location. Make sure the cups sit comfortably and provide the support you need.
- If the top or side edges of the cups are visible, fold them inward and tack them down with a needle and thread. The soft foam edge won’t bother you, and this keeps the cups hidden.
- Alternatively, cut the edges and finish them with a zigzag stitch or serger to prevent unraveling.
Step 3: Attach the Cups
- Use a needle and thread to attach each cup to the garment in at least four places—top, bottom, and both sides—about 1/4 inch away from the cup edge.
- Add more attachment points if needed for extra security.
- If you kept the sides of the bra, tack those areas down as well.
- Choose a thread color that blends with the garment to minimize visibility.
- For garments with two layers of fabric, catch only the inside layer so stitches aren’t visible from the outside.
Step 4: Final Touches
- Once the cups are securely attached, your garment is ready to wear!
- Ensure the garment fits well overall. If the waist or chest area is too loose, consider altering it for a closer fit before adding the bra.
The Less Support Method
This method is perfect for lightweight garments or those that need minimal support, such as tank tops or casual dresses.
Step 1: Choose the Right Cups
- Purchase bra cups in your size. Matching the cup color to your garment will make them less noticeable.
Step 2: Position the Cups
- Try on the garment and assess where you want the cups to be. Pin them in place and try the item on again to ensure you’re happy with the placement.
- Trim the cups if needed to fit the garment’s shape.
Step 3: Sew the Cups
- Follow the same sewing instructions as the more support method, attaching each cup in at least four places about 1/4 inch from the edge.
- Use a thread color that blends with the fabric and make small stitches to minimize visibility.
- If the garment has two layers, catch only the inside layer to hide stitches.
Step 4: Final Touches
- Once the cups are in place, your garment is ready to wear!
- Remember, the better the garment fits, the better the built-in bra will work. Adjust the fit if necessary before adding the cups.
Essential Tips for Success
- Fit Matters: Ensure your garment fits well before adding a built-in bra. A loose fit can reduce the effectiveness of the support.
- Thread Choice: Use a thread color that matches your garment to keep stitches discreet.
- Stitch Technique: Make small, tight stitches to secure the cups without making them visible from the outside.
- Layering: If your garment has two layers, sew through the inside layer only to hide stitches.
- Comfort Check: Try on the garment after attaching the cups to ensure they’re comfortable and provide the support you need.
FAQs
Can I add a built-in bra to any garment?
Yes, you can add a built-in bra to most garments, but the method and level of support may vary depending on the fabric and design.
Do I need special sewing skills?
No, basic sewing skills are sufficient. The process involves simple hand or machine stitching.
Can I remove the built-in bra later?
Yes, you can remove the bra or cups if needed, but it may leave small holes or marks from the stitches.
What type of cups should I use?
Use bra cups in your size and, if possible, match the color to your garment for a seamless look.
How do I care for a garment with a built-in bra?
Wash the garment according to the fabric care instructions. Avoid harsh detergents or high heat, which can damage the cups or stitches.
Conclusion
Adding a built-in bra to your clothing is a simple yet effective way to enhance comfort and support. Whether you choose the more support method with a full bra or the less support method with individual cups, these techniques can transform your favorite garments into versatile, worry-free pieces. With a few basic sewing skills and a little creativity, you can customize your wardrobe to suit your needs and style.


