Homemade Bath Bombs: A Complete Guide to DIY Fizzies
Everything you need to know for crafting perfectly fizzy, colorful bath bombs at home—no stress or crumbling.
Homemade Bath Bombs: The Ultimate Step-by-Step Tutorial
Crafting your own bath bombs at home is rewarding, customizable, and a fun way to enhance your self-care routine. Whether you are a beginner or a bath bomb enthusiast, this comprehensive guide offers all the essential instructions, expert tips, and troubleshooting advice to ensure consistently gorgeous, fizzy results.
Why Make Bath Bombs at Home?
- Flexible customization with scents, colors, and skin-loving oils.
- Cheaper than store-bought alternatives and free from unwanted chemicals.
- A creative project ideal for gifts or personal pampering.
- Safe to make with basic kitchen equipment and common household ingredients.
Bath Bomb Basics: Core Ingredients & Tools
Understanding what goes into the perfect homemade bath bomb is key. Below are the basic ingredients and recommended tools for best results:
| Ingredient | Purpose | Suggested Measurement |
|---|---|---|
| Baking Soda | Fizzes and softens water; main base | 4 oz (about 1/2 cup) |
| Cornstarch | Helps bind and soften texture | 2 oz (about 1/4 cup) |
| Citric Acid | Reacts with baking soda to create fizz | 2 oz (about 1/4 cup) |
| Epsom Salt | Soothes muscles and adds weight | 2 oz (about 1/4 cup) |
| Water | Activates the binding reaction | 1 – 1.5 tsp |
| Essential Oil | Adds fragrance and aromatherapy benefits | 5–10 drops |
| Carrier Oil | Moisturizes skin and binds mixture | 1 1/4 tsp (coconut, olive, or almond oil) |
| Food Coloring | Optional color (use sparingly for pale shades) | 1–2 drops |
Recommended Tools:
- Stainless steel or plastic bath bomb molds
- Large mixing bowl
- Whisk
- Small glass jar or bowl for liquids
- Spray bottle (for slow liquid addition, optional)
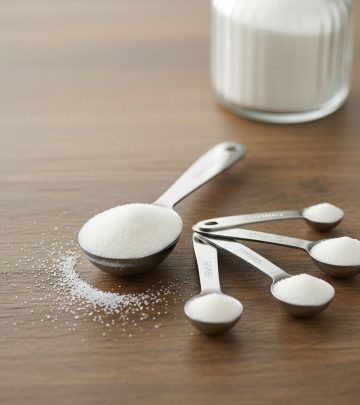
- Measuring spoons and cups
Step-by-Step Instructions: How to Make Bath Bombs
- Combine Dry Ingredients
In a large mixing bowl, add baking soda, cornstarch, citric acid, and Epsom salt. Whisk thoroughly to break up any lumps, especially in the cornstarch and baking soda.
- Mix Wet Ingredients
In a separate small jar, blend water, essential oils, carrier oil, and food coloring until fully combined. If using coconut oil, gently melt it first until liquid.
- Slowly Combine Wet and Dry Ingredients
Pour the wet mixture into the dry ingredients very slowly, whisking constantly as you go. This prevents premature fizzing. If you see fizzing, slow down! For best control, use a spray bottle to lightly mist the mixture with the wet ingredients while whisking relentlessly.
- Test Consistency
Grab a handful of the mixture and squeeze it—it should hold together firmly in a clump. If it’s too powdery, add a few drops more water and work it in gently. Avoid oversaturating, as this will cause the mixture to fizz or become too wet, leading to crumbling bath bombs.
- Fill the Molds
Pack each half of your bath bomb mold with the mixture, slightly overflowing each side. Press the halves together tightly. Let sit for about a minute to set the shape, then gently tap and remove the mold.
- Dry and Cure
Place your unmolded bath bombs on a tray lined with wax paper. Let them dry for at least 24 hours in a cool, dry place (avoid humid spots). For even harder bath bombs, let them cure for up to 48 hours.
Tips for No-Fail Bath Bombs
- Whisk dry ingredients thoroughly to avoid uneven coloring or lumps.
- Mix wet and dry ingredients slowly to reduce premature fizzing and keep mixtures workable.
- If using a spray bottle to add liquids, spritz while whisking for more control over moisture.
- Use a sturdy, reliable mold and pack the mixture very firmly for best results.
- Let finished bombs cure 24–48 hours; rushing this step can lead to soft or crumbly texture.
- For extra decoration, place flower petals or citrus zest at the bottom of the mold before adding the mixture.
Popular Customization Ideas
Bath bombs are endlessly customizable. Here are some creative options to inspire your next batch:
- Color Combos: Add a few drops of different food coloring for swirl effects or layer colors inside the mold.
- Fragrance Varieties:
- Lavender for relaxation
- Eucalyptus for spa vibes
- Sweet orange or rose for uplifting aromatherapy
- Skin Nourishers: Incorporate a teaspoon of shea or cocoa butter for extra-soft skin.
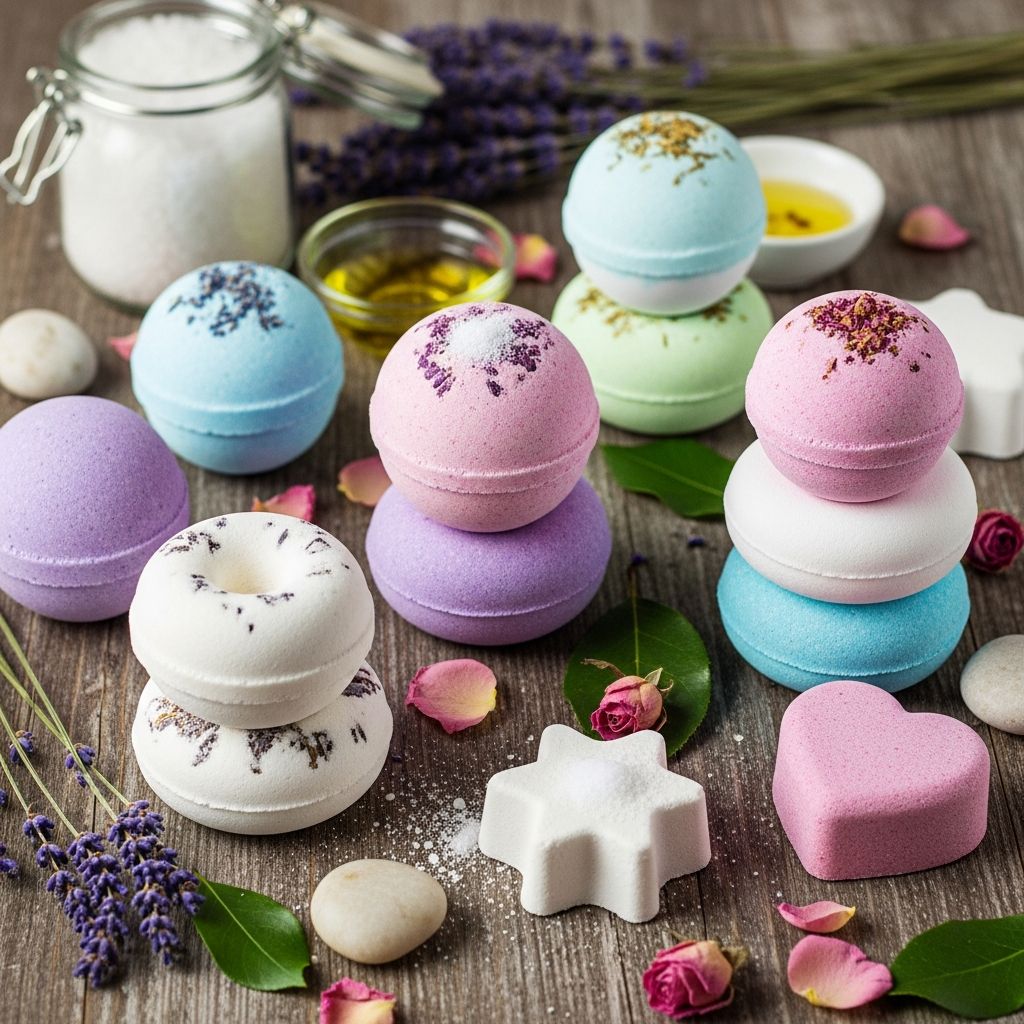
- Botanical Add-Ins: Sprinkle dried flower petals, herbs, or citrus zest in molds for a luxe look.
- Fun Shapes & Sizes: Use silicon molds, mini muffin tins, or cookie cutters for creative shapes.
- Sparkle & Shimmer: Add a pinch of cosmetic-grade mica powder or eco-glitter (use sparingly, and only skin-safe products).
Troubleshooting Common Bath Bomb Issues
Sometimes things don’t go as planned—but most issues have simple solutions!
- Mixture is too crumbly or won’t stick together: Add a few extra drops of water; mix and try again. Work slowly and cautiously.
- Mixture is too wet or starts to fizz: Work more quickly; next time, add liquids more slowly. Excess moisture can also cause bath bombs to expand unexpectedly after molding.
- Bath bombs aren’t coming out of the mold cleanly: Try lightly greasing your mold with a drop of oil, or let them sit a bit longer before unmolding.
- Cracking after unmolding: Pack tighter next time and/or allow slightly more moisture when mixing. Let them cure undisturbed and avoid moving them during initial drying.
Storing & Using Your Homemade Bath Bombs
- Once fully dry, store bath bombs in airtight containers to keep moisture out.
- Wrap individually in plastic wrap, cellophane, or parchment paper for gifting or freshness.
- Keep in a cool, dry spot. Avoid high humidity, which can weaken structure.
- When ready to use, simply drop one into a filled bath and enjoy the fizz, fragrance, and soft water.
Safety Tips & Ingredient Notes
- Citric Acid: Use gloves if you have sensitive skin or cuts. Store safely and away from children and pets.
- Essential Oils: Always choose skin-safe, high-quality oils. Some oils (like cinnamon or peppermint) should be used in moderation and never directly on the skin undiluted.
- Colorants: Only use food or cosmetic-grade colorings. Avoid large quantities of synthetic dyes to prevent staining tub or skin.
Frequently Asked Questions (FAQs)
Q: My bath bombs keep crumbling or cracking. How do I fix this?
A: The most common cause is a mixture that’s too dry or not packed tightly enough in the mold. Add moisture slowly and pack each half of the mold as firmly as possible. Let them cure undisturbed for a full 24–48 hours.
Q: Can I use substitutes for citric acid?
A: Citric acid is essential for the characteristic fizz. However, you can experiment with cream of tartar or lemon juice powder for a milder effect, but the texture and fizz may not be as vibrant.
Q: How do I prevent colors from staining the tub?
A: Use food coloring in moderation and always test a small batch first. Avoid using excessive dyes or non-cosmetic colorants. Clean the tub well after use to minimize any lingering pigment.
Q: What oils work best for moisturizing bath bombs?
A: Coconut oil, sweet almond oil, and olive oil are all popular choices. Each provides a different skin feel—try a few to see which you prefer.
Q: Are homemade bath bombs safe for sensitive skin or children?
A: Use gentle essential oils or omit fragrance entirely. Always patch test a finished bomb if you have sensitive skin. Avoid large, potentially scratchy add-ins like big flower petals for children’s baths.
Bonus: Gift-Worthy Presentation Ideas
- Wrap individual bath bombs in printed tissue and tie with twine or ribbon for easy gifting.
- Make themed sets in decorative boxes (e.g., calming lavender, energizing citrus, floral blends).
- Add DIY tags with ingredients and usage tips.
Experiment and Have Fun!
The beauty of homemade bath bombs is adapting the experience to your preferences. Don’t be afraid to test scents, colors, and add-ins. With a little patience and creativity, you’ll soon have a collection of perfectly fizzy, fragrant bath bombs ready for any occasion.
References
- https://www.bbcgoodfood.com/howto/guide/how-make-bath-bomb
- https://www.armandhammer.com/en/articles/diy-baking-soda-bath-bombs
- https://inspiredbycharm.com/diy-bath-bombs/
- https://abeautifulmess.com/homemade-bath-bombs/
- https://www.youtube.com/watch?v=713FcDqHF7M&vl=en
- https://www.youtube.com/watch?v=J_YeSGiNUoQ
- https://www.instructables.com/How-To-Make-Bath-Bombs/


